
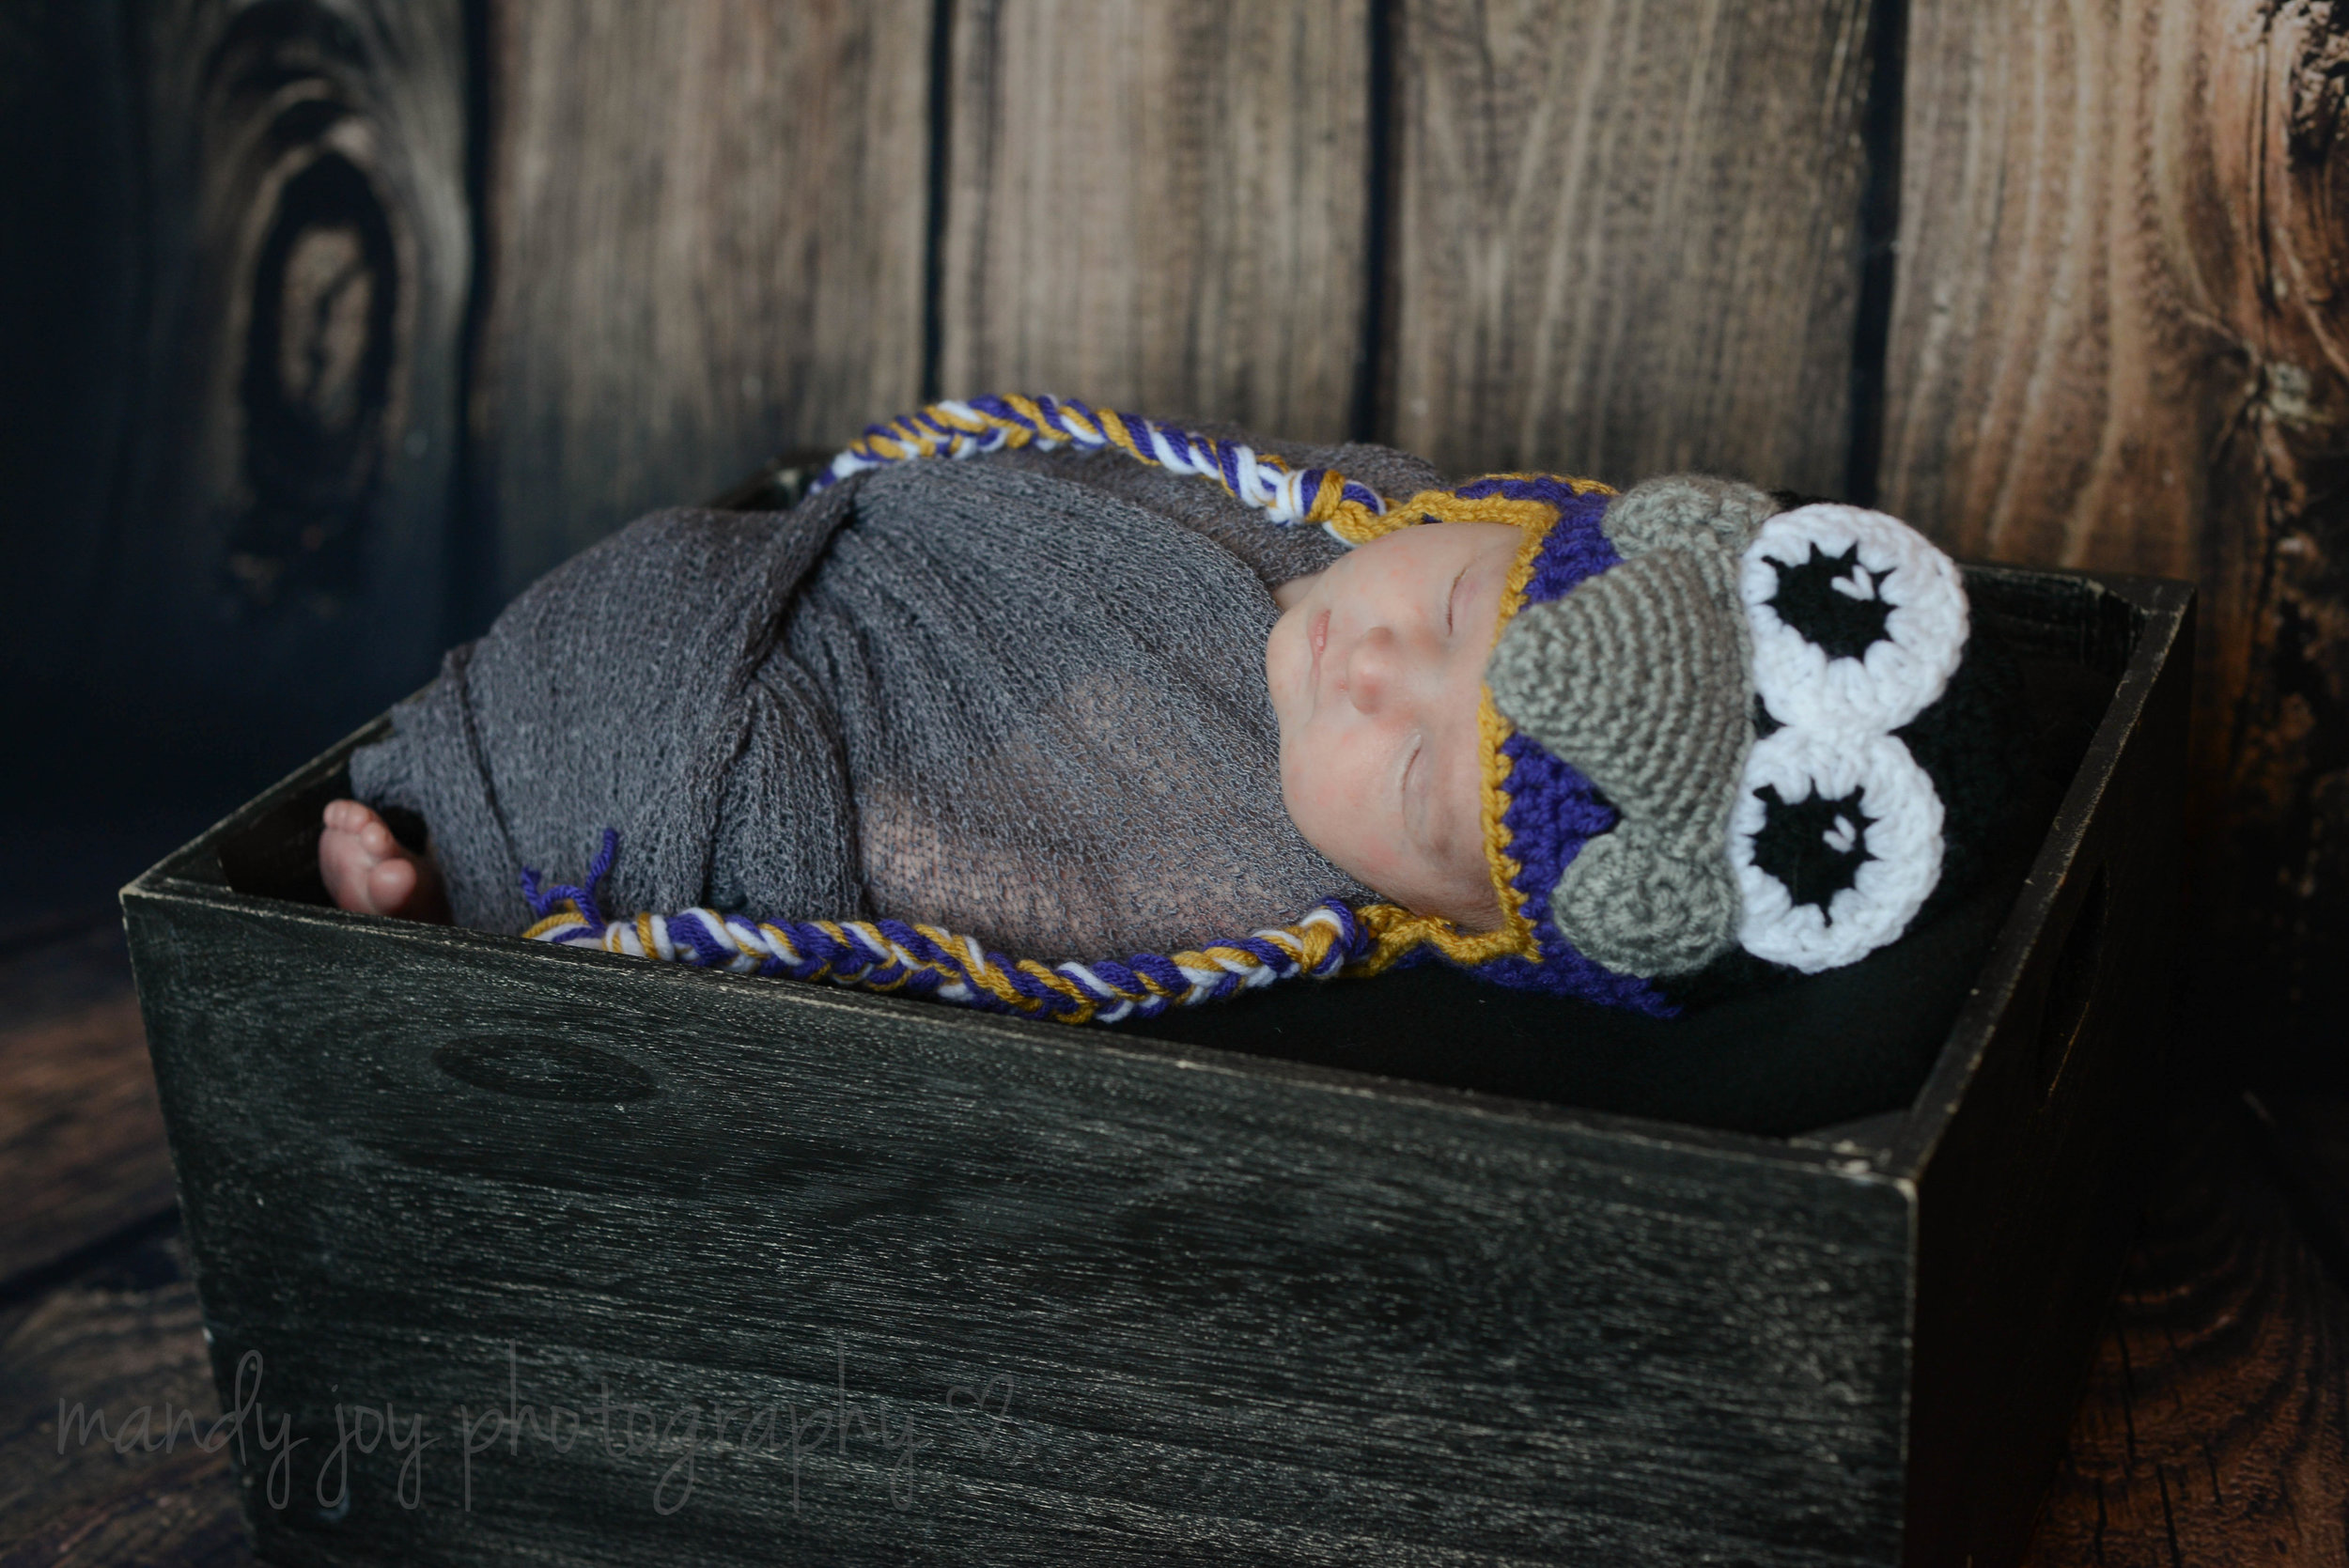
Baltimore Ravens Earflaps Hat
/If you're from Maryland, then you know we are serious about our sports. This Baltimore Ravens ("inspired", ahem) earflap hat is one of my best-sellers locally. There's no better way to show off your team pride than to wear a super-embarrassing, 3-dimensional Poe hat to the football game. I'll be including up to size 18 months in this free pattern, as most of my customers purchased these as gifts for babies and children. My son wore his for years, and now my daughter wears it! The beak is stuffed with polyfil and lifts up, making it fun for kids. I always add a Baltimore "B" logo to the earflap (pattern here).
Notes:
All instructions within * * are to be repeated the specified number of times.
If you know the head size of the intended recipient, go by that instead of the age range. See the size sections for measurements.
Gauge: 5 mm hook- 8 DC stitches x 5 DC rows= 3 inches square
If you wish for a longer/shorter hat, simply add or subtract rows as necessary. Add or subtract stitches in the last increasing round to adjust circumference.
Materials:
Worsted weight yarn (such as Red Heart Super Saver or similar) in black, purple, gold, gray and white
4.00 mm (US G) or 5.00 mm (US H) for body of hat, depending on size
4.00 mm for face parts
Stuffing (polyester fiberfil) for beak
Tapestry needle to weave in ends
Abbreviations:
ss: Slip stitch
st(s): Stitches
ch: Chain
sc: Single crochet
hdc: Half double crochet
dc: Double crochet
Beg hdc dec: Beginning half double crochet decrease. Do not ch1. Sc, ch1 (shortened hdc made). HDC in next stitch.
Hdc dec: half double crochet decrease
FO: Fasten off
Instructions for Body of Hat: Newborn and 0-3 Months
Beginning ch3 does not count as a dc
Use 4 mm hook for newborn; Use 5 mm hook for 0-3 months
Newborn measurements: 13” circumference, 5.25” long to brim
0-3 months measurements- 14” circumference, 5.5” long to brim
Begin with black
R1: Magic ring, ch3 and dc 10 in ring. Join to top of ch3. (10 dc)
R2: Ch3, 2 dc in each st. Join to top of ch3. (20 dc)
R3: Ch3, *2 dc in st, 1 dc in next st* repeat 10 times. Join to top of ch3. (30 dc)
R4: Ch3, *2 dc in st, 1 dc in each of next 2 sts* repeat 10 times. Join to top of ch3. (40 dc)
R5-7: Ch3, dc around. Join to top of ch3. (40 dc)
Change to Purple
R8-9: Ch3, dc around. Join to top of ch3. Do not FO. (40 dc)
Follow directions for earflaps
Attach gold yarn on last row of hat at the tip of one of the earflaps. SC around.
Follow Instructions for Braids
Instructions for Body of Hat: 3-6 Months
Beginning ch3 does not count as a dc
Use 5 mm hook
Measurements: 16” circumference, 6” long to brim
Begin with black
R1: Magic ring, ch3 and dc 10 in ring. Join to top of ch3. (10 dc)
R2: Ch3, 2 dc in each st. Join to top of ch3. (20 dc)
R3: Ch3, *2 dc in st, 1 dc in next st* repeat 10 times. Join to top of ch3. (30 dc)
R4: Ch3, *2 dc in st, 1 dc in each of next 2 sts* repeat 10 times. Join to top of ch3. (40 dc)
R5: Ch3, *2 dc in st, 1 dc in each of next 7 sts* repeat 5 times. Join to top of ch3. (45 dc)
R6-8: Ch3, dc around. Join to top of ch3. (45 dc)
Change to purple
R9-10: Ch3, dc around. Join to top of ch3. Do not FO. (45 dc)
Follow directions for earflaps
Attach gold yarn on last row of hat at the tip of one of the earflaps. SC around.
Follow Instructions for Braids
Instructions for Body of Hat: 6-18 Months
Beginning ch3 does not count as a dc
Use 5 mm hook
Measurements: 18” circumference, 6.25” to brim
Begin with black
R1: Magic ring, ch3 and dc 10 in ring. Join to top of ch3. (10 dc)
R2: Ch3, 2 dc in each st. Join to top of ch3. (20 dc)
R3: Ch3, *2 dc in st, 1 dc in next st* repeat 10 times. Join to top of ch3. (30 dc)
R4: Ch3, *2 dc in st, 1 dc in each of next 2 sts* repeat 10 times. Join to top of ch3. (40 dc)
R5: Ch3, *2 dc in st, 1 dc in each of next 3 sts* repeat 10 times. Join to top of ch3. (50 dc)
R6-8: Ch3, dc around. Join to top of ch3. (50 dc)
Change to purple
R9-10: Ch3, dc around. Join to top of ch3. Do not FO. (50 dc)
R11: Ch1, sc around. Do not FO. (50 sc)
Follow directions for earflaps
Attach gold yarn on last row of hat at the tip of one of the earflaps. SC around.
Follow Instructions for Braids
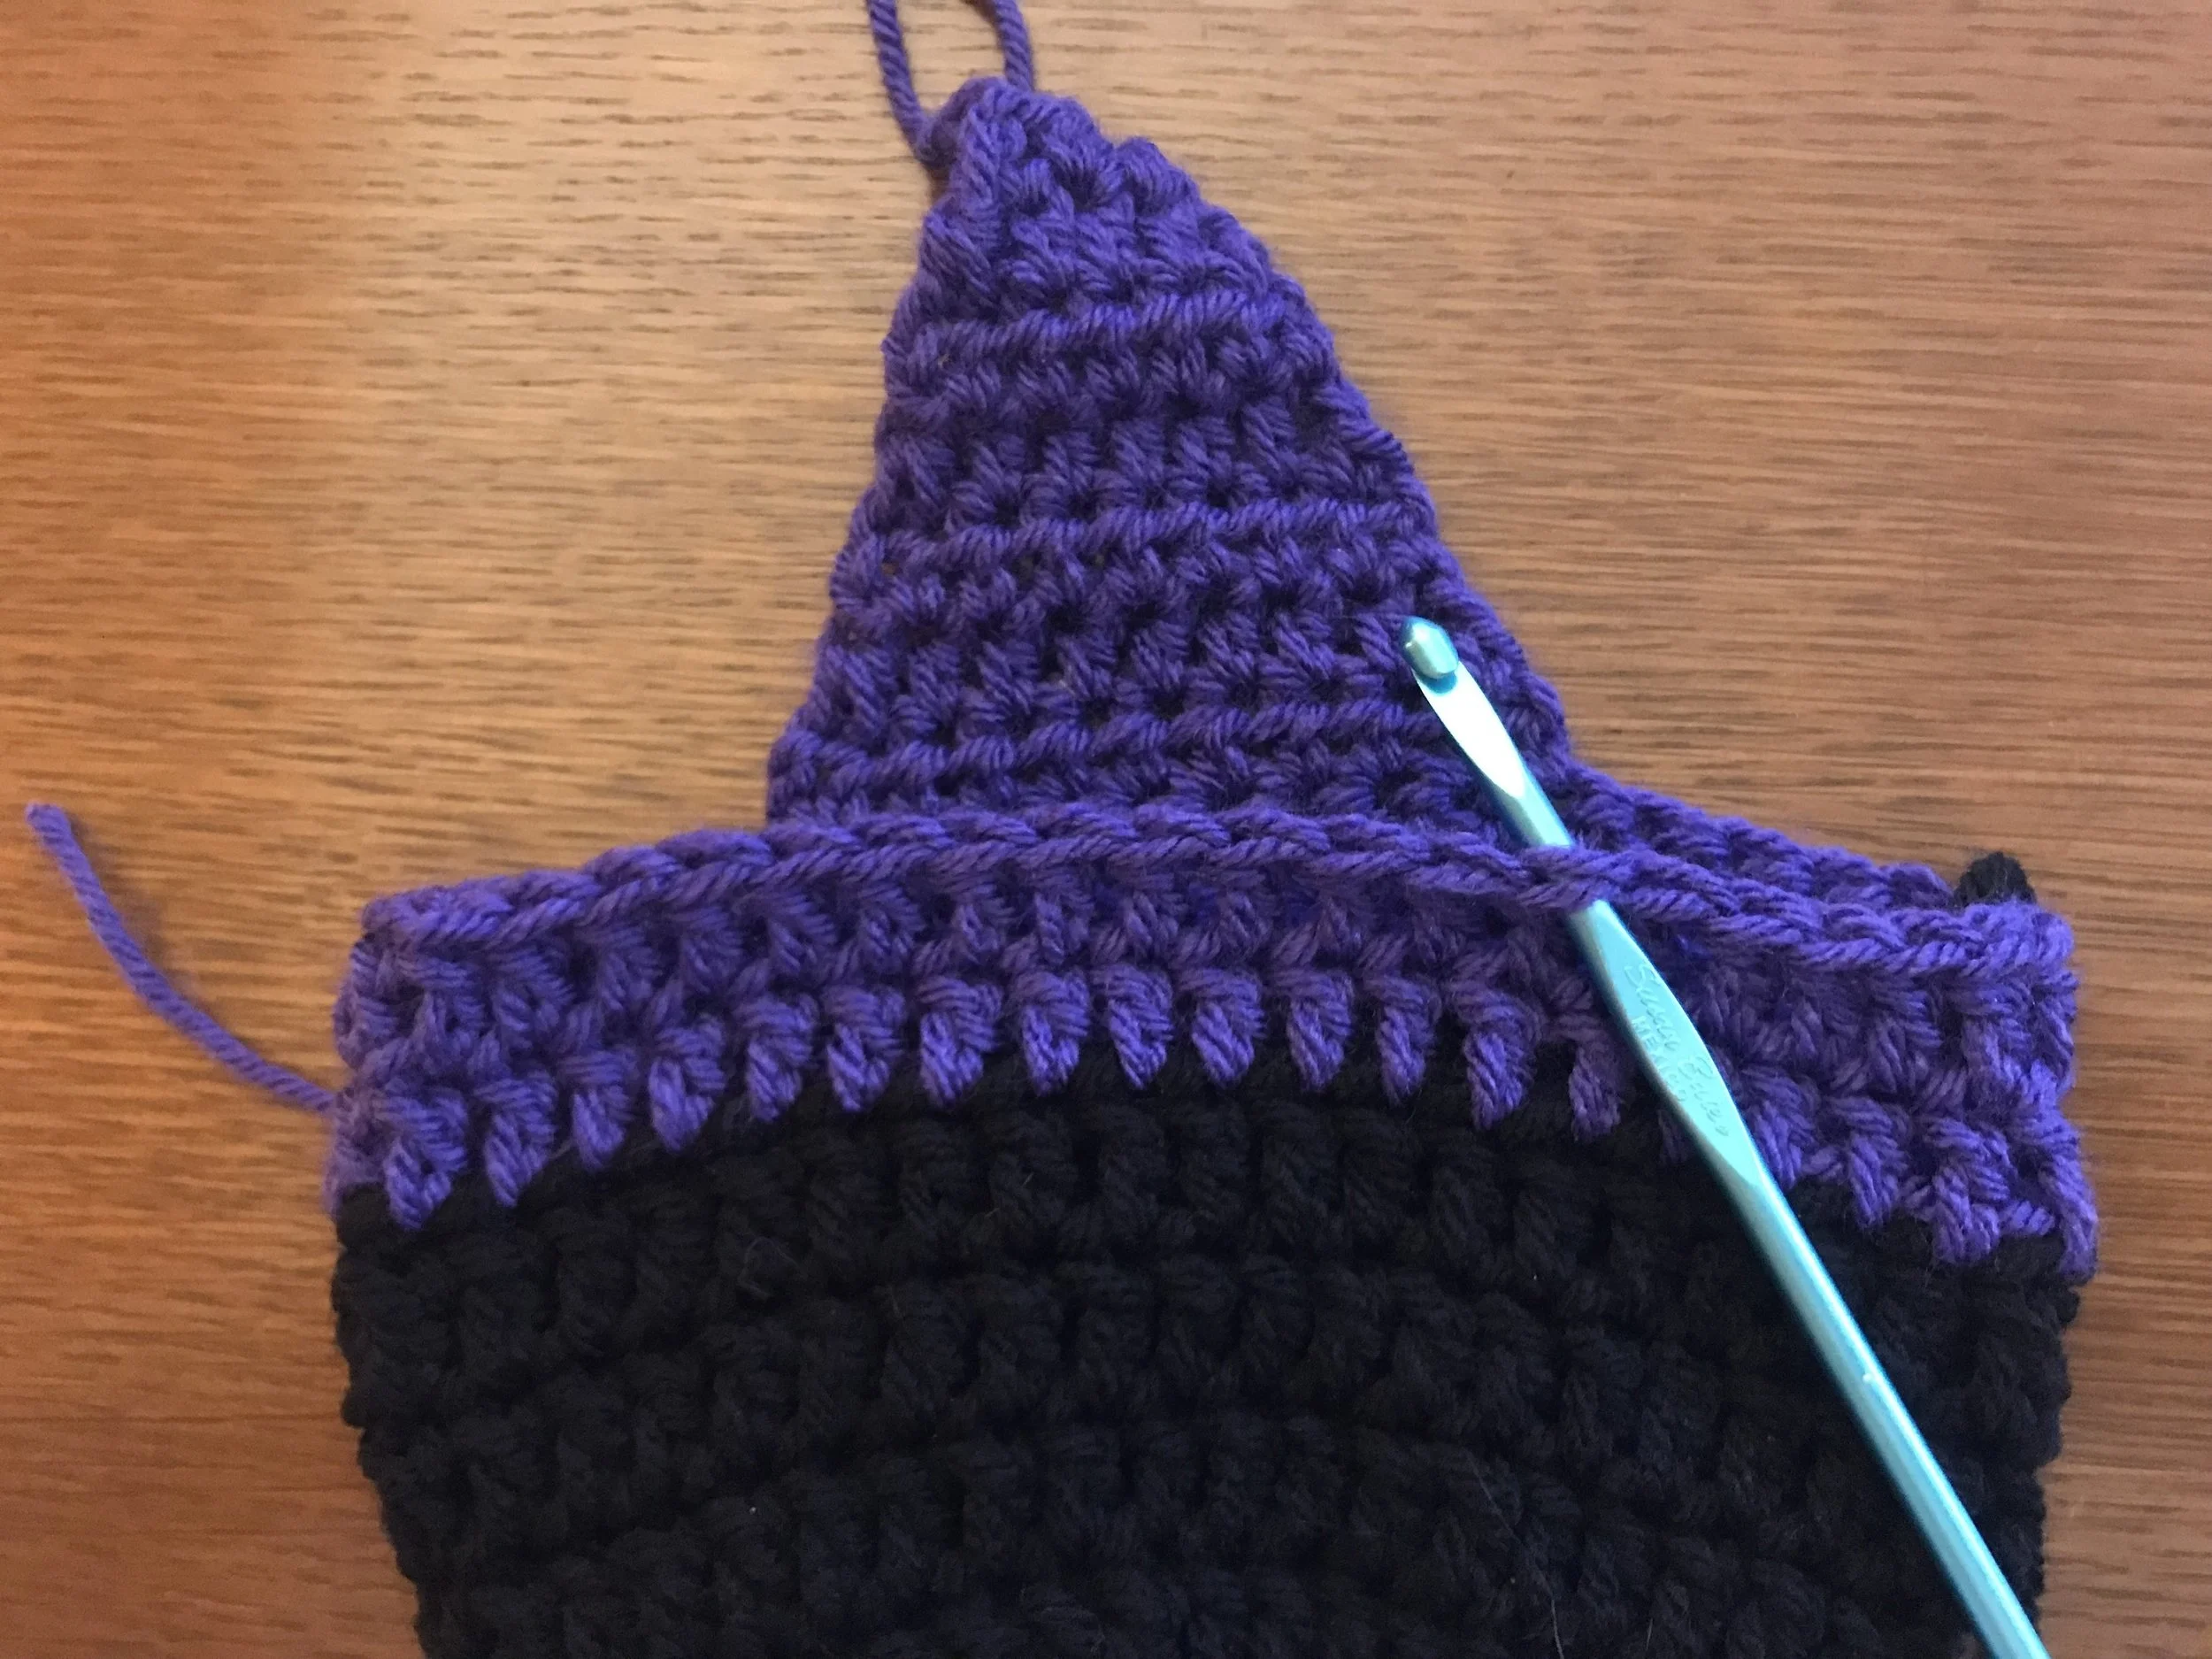
Instructions for Earflaps
Use same size hook as you did for body of hat.
Beginning ch2 does not count as a hdc.
Sub regular hdc decrease for the beginning hdc decrease if you just don't feel like dealing with a new stitch.
R1: Ch2, hdc 10. Turn. (10 hdc)
R2: Beg hdc dec, 6 hdc, hdc dec. Turn. (8 hdc)
R3: Ch2, hdc 8. Turn. (8 hdc)
R4: Beg hdc dec, 4 hdc, hdc dec. Turn. (6 hdc)
R5: Ch2, hdc 6. Turn. (6 hdc)
R6: Beg hdc dec, 2 hdc, hdc dec. Turn. (4 hdc)
R7: Ch2, 2 hdc dec. Turn. (2 hdc)
R8: Beg hdc dec. FO, leaving long tail. (1 hdc)
For second earflap, fold hat in half. Locate the stitch directly on the opposite side of the front of the first earflap. Attach purple yarn and follow instructions above for second earflap.
Instructions For Braids:
Cut 6 strands of each color (white, purple, gold) to 36”. For each earflap, gather 3 strands of each color and pull all 9 strands through tip of earflap. When all strands are even, tie a knot. Braid strands to desired length, then tie another knot and cut ends. (Tip-Long tails from previous steps can be braided along with the other strands. This is a fast and easy way to weave them in)
Instructions for Eyes (make 2)
Use 4 mm hook
Beginning ch3 does not count as a dc.
Begin with Black
R1: Magic ring, ch 3, 10 dc in ring. Join to top of ch3. (10 dc)
Change color to white
R2: Ch3, *2 DC in each stitch* repeat 8 times. 2 sc in each of last 2 sts. FO, leave long tail for sewing. (20 sts)
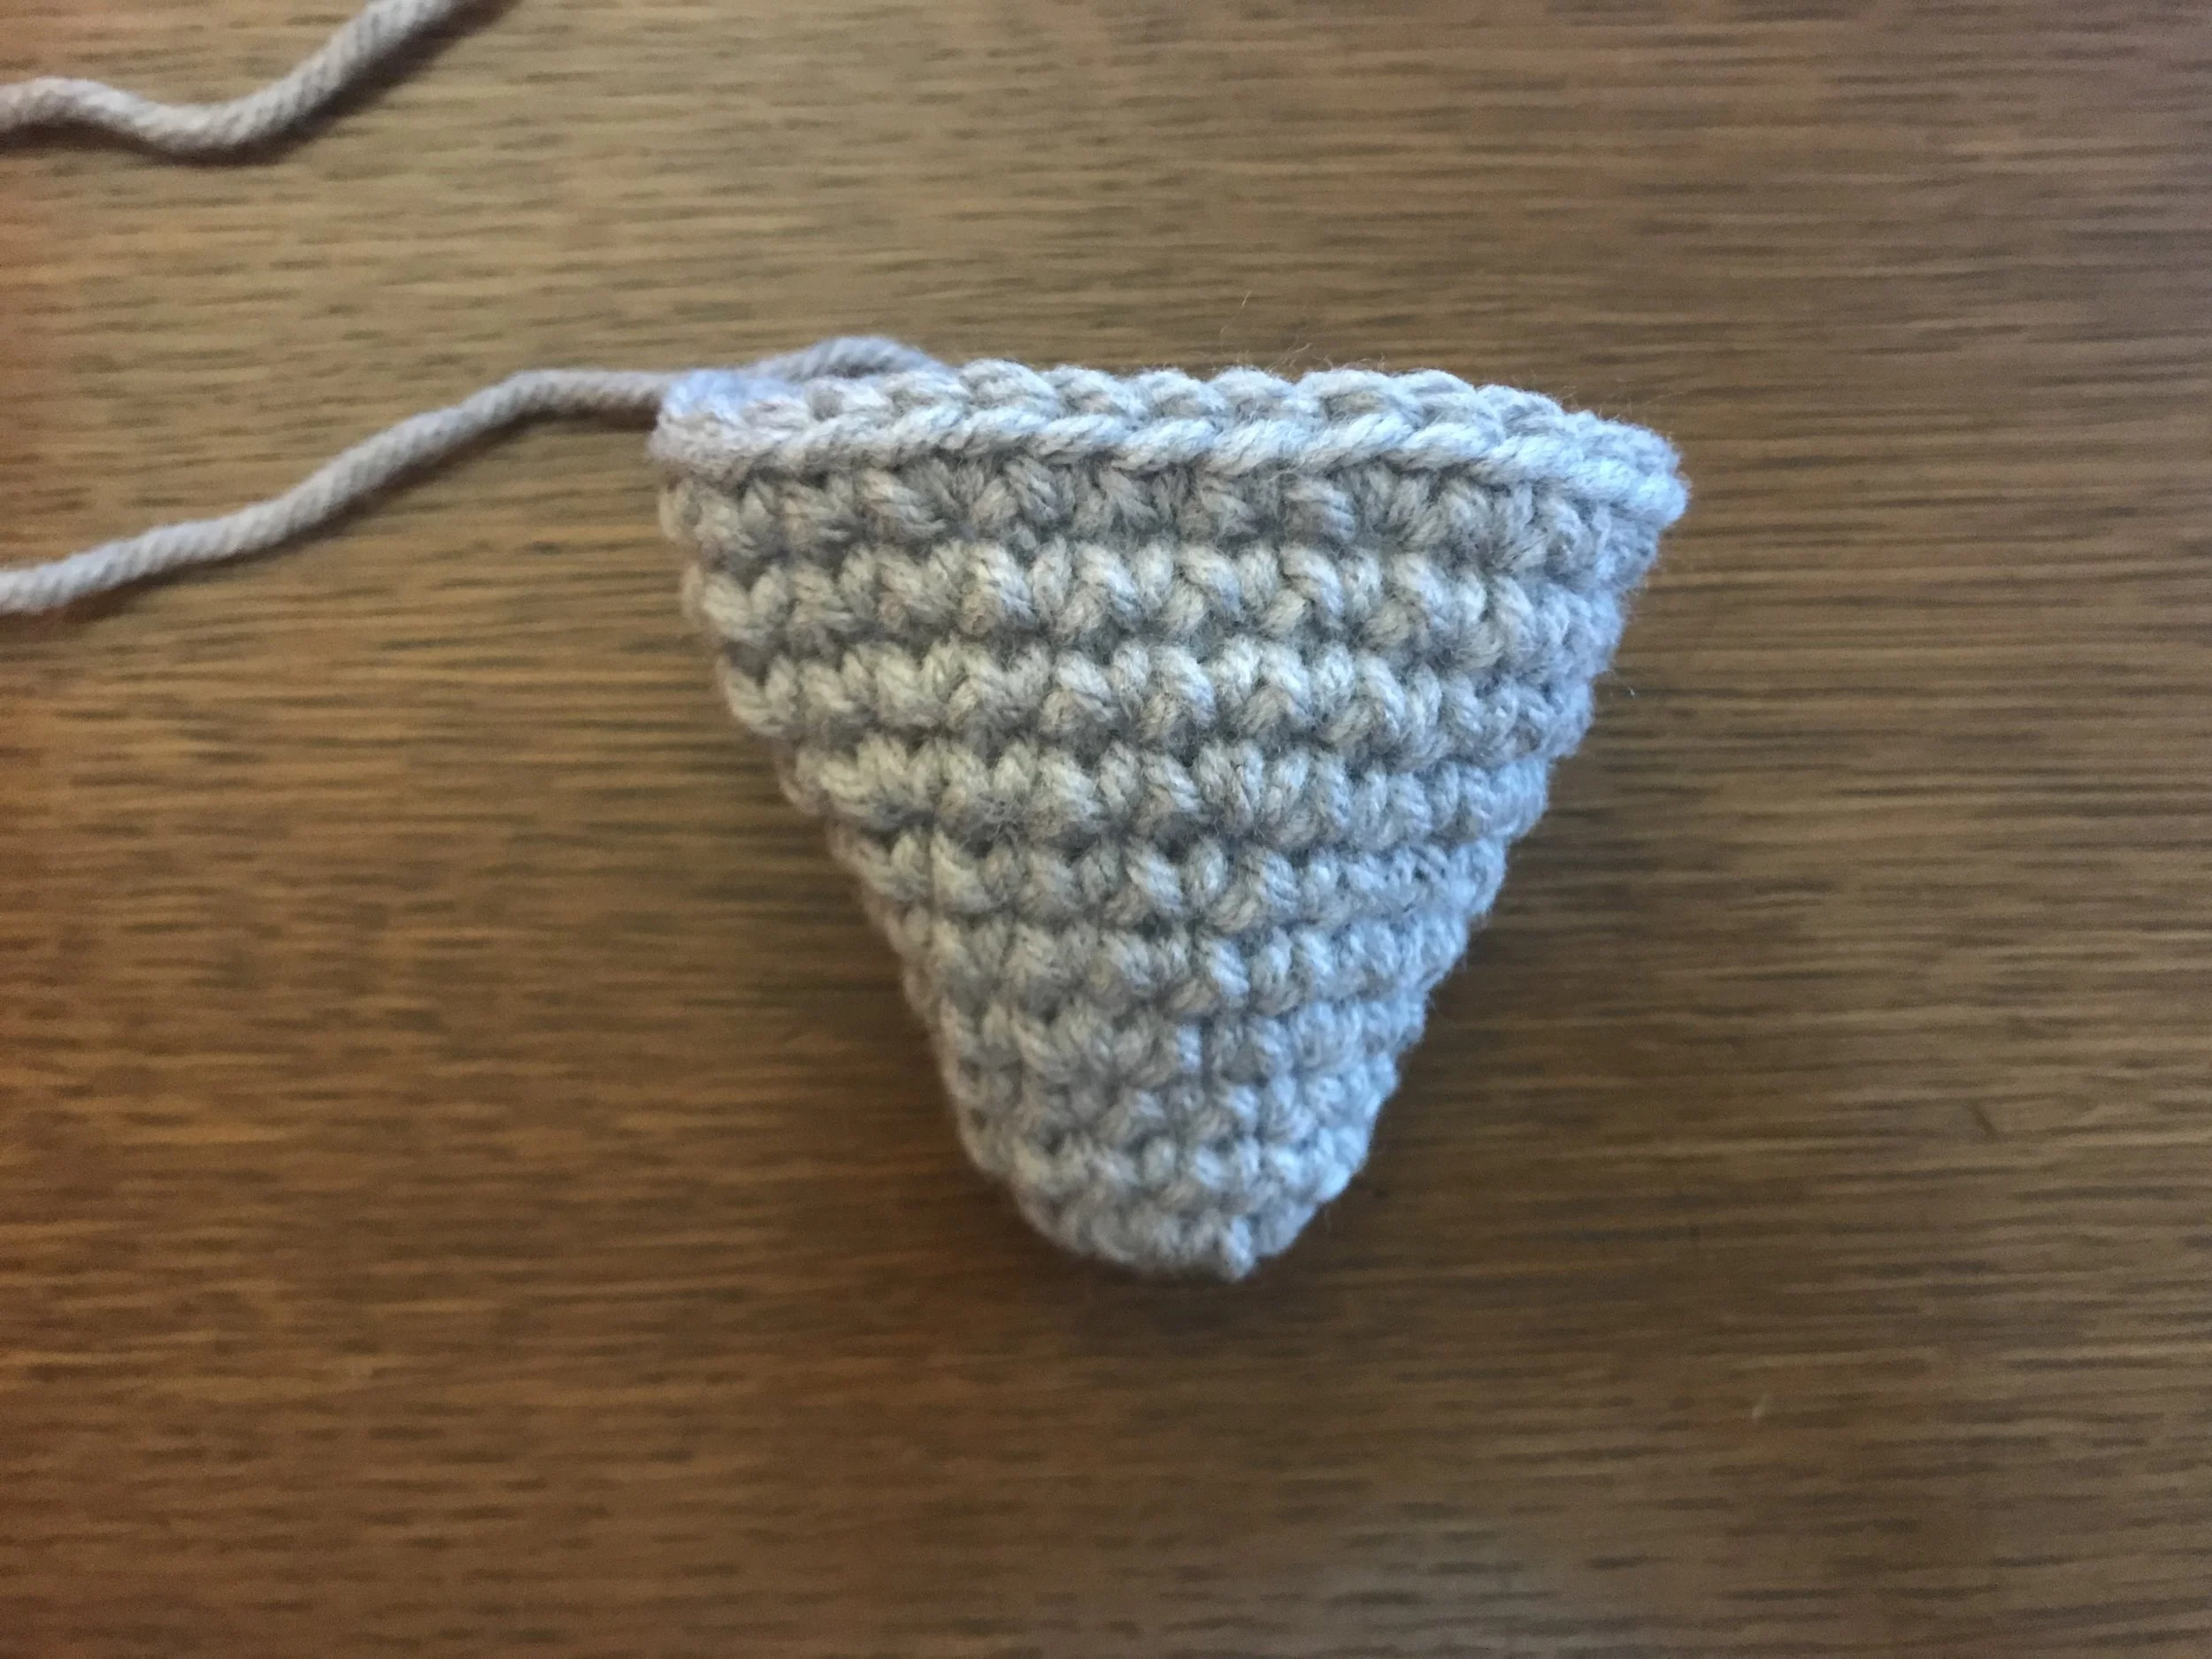
Instructions for Cheeks
Use 4 mm hook
Beginning ch2 does not count as a hdc
Use gray yarn
R1: Magic ring, ch 2, hdc 7. Join to top of ch3. (7 hdc)
R2: Ch2, 2 hdc in each st. Join to top of ch3. FO, leave long tail for sewing. (14 hdc)
Instructions for Beak
Use 4 mm hook
Use gray yarn
Work in continuous rounds. Use a stitch marker.
After you FO, stuff the beak and sew the opening closed
R1: Magic ring, 6 sc in ring. Do not join. (6 sc)
R2: 2 sc in each st around (12 sc)
R3-4: 1 sc in each st around (12 sc)
R5: *1 sc in next st, 2 sc in next* repeat around (18 sc)
R6-7: 1 sc in each st around (18 sc)
R8: *1 sc in next 2 sts, 2 sc in next* repeat around (24 sc)
R9-10: 1 sc in each st around (24 sc)
R11: *1 sc in next 3 sts, 2 sc in next* repeat around (30 sc)
FO, leaving long tail for sewing.
Sewing Face Parts Together
You should have 2 eyes, 2 cheeks and a beak. Position all items on the hat (make sure join side is facing back) and sew on in this order to ensure correct overlap:
Eyes- Should be almost touching in the center (Tip-Use the white tail from the eye to create “eye glint” in the shape of a sideways V in the corner of each eye)
Cheeks- Slight overlap onto bottom of eyes
Beak- Sew directly underneath the eyes. Overlap corners of beak onto cheeks. Tip- Sew a few stitches down each side of the beak so it doesn’t get too floppy. A little bit of floppiness is desirable and interesting but too much can be awkward.

For the finishing touch, add a "B" stylized logo to the earflap. Logo pattern here. Hope you enjoyed this Ravens hat tutorial! Questions? Leave them in the comments!
